I love to illustrate recipes. I like cooking, so it is a fun way to compile my favourite recipes. But it’s also a great learning tool. It’s a place to experiment with layouts, hand lettering and new techniques. When I read about Penelope Dullaghan‘s oil transfer technique, I decided it was time for a new illustrated recipe and a little experiment.

What is this oil transfer?
Oil transfer is simple. It works a like carbon paper. Here’s how to get started:
- Make a draft drawing on thin paper
- Paint a sheet of cartage paper with a diluted layer of oil paint
- Leave it until it’s half dry (you can use a hair dryer to speed the process)
- Layer your paper as follow from bottom to top:
- Paper for your final art work
- Oil painted paper (oil paint side on the drawing paper)
- Your draft drawing on top
- Keep everything in place with a few pieces of tape
- Trace your picture with a pen. I used a Uniball Eye pen as tested on the sheet below
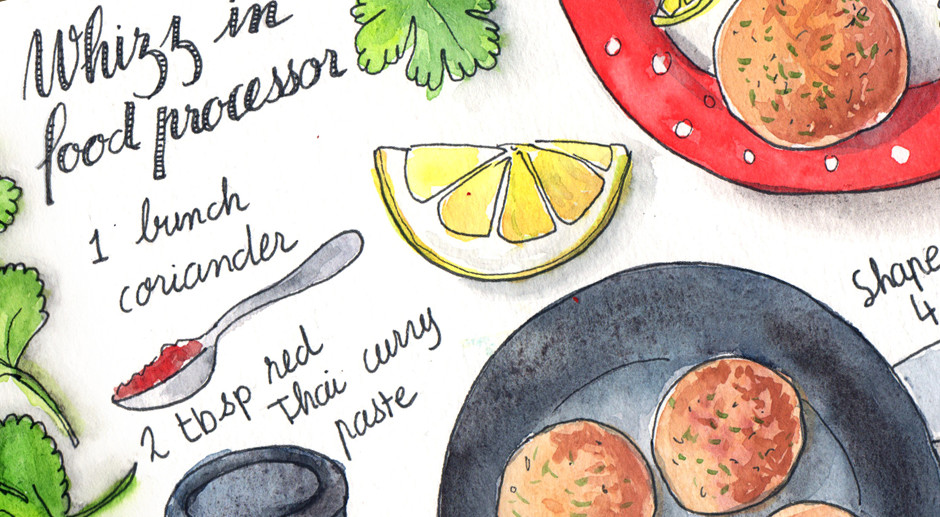
The oil transfer technique gives an interesting line quality (see close up drawing above) and a little background texture. You can finish the illustration with watercolour or pencil when the transfer is dry.

But there’s a catch!
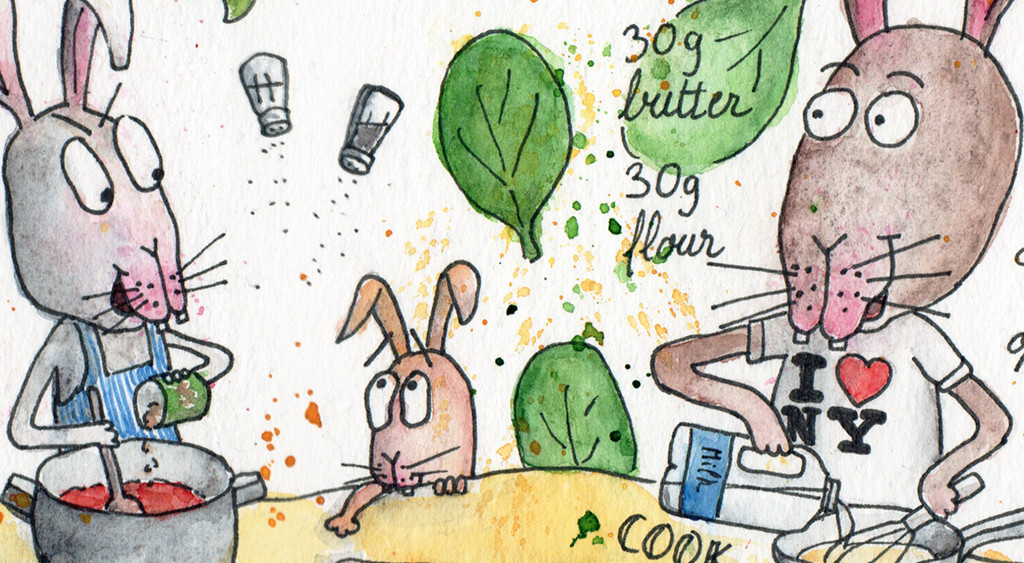
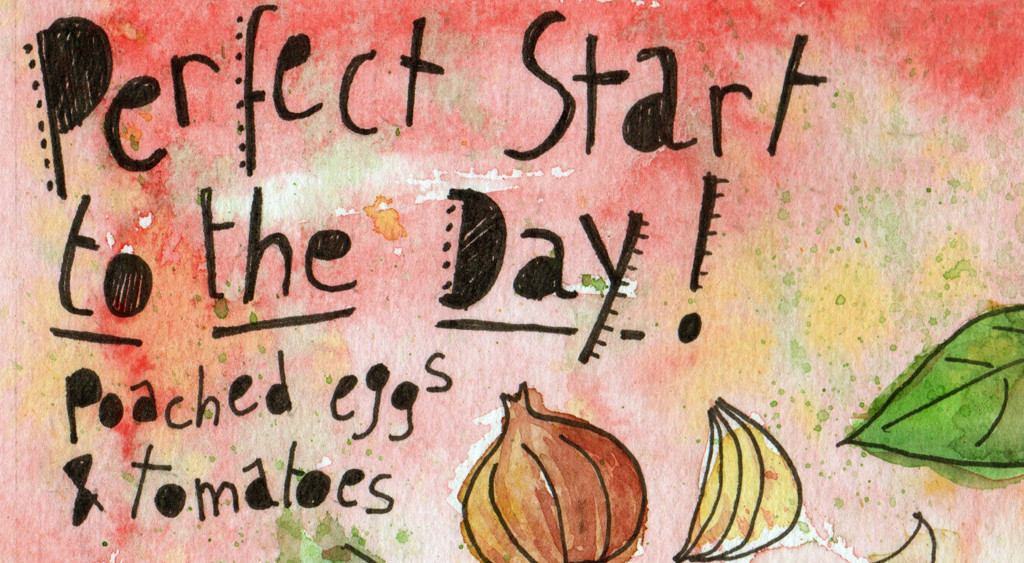
I love the lines on the drawings of the sheep and all the food illustrations. But there’s a catch. Oil transfer makes a thick and fuzzy line and the writing can lack clarity. I made two versions of the illustration. One with the lettering in pencil, the other using oil transfer throughout.
I like the second one best as the contrast is stronger.
Would I use oil transfer again? Yes. However I would pick a recipe with less writing or draw the lettering with a fine liner. More experiments!


You can view the recipe on They Draw and Cook too!